

How To Smooth Skin In Imovie
Change the look of your iMovie project
Change the way your movie looks with effects similar video filters, color adjustment tools, and the Ken Burns effect.
-

iPhone, iPad, or iPod Touch on
-

Mac
Change the look of your iMovie project on iPhone or iPad
iMovie includes effects that tin can change the way your clips await. If yous desire a particular look, use a preset filter like B&W (black and white) or Sepia. And for whatsoever photos in your iMovie projection, you can adapt the Ken Burns upshot that sweeps across and zooms in and out on the image.
You can utilize the dark-green screen effect in iMovie to add green-screen content equally an overlay.
Apply filters in iMovie on iPhone, iPad, or iPod touch on
Add together a filter to a single video prune in a projection:
- Tap a video clip in the timeline to select it.
- Tap the Filters button
 , and then tap a filter to preview it in the viewer.
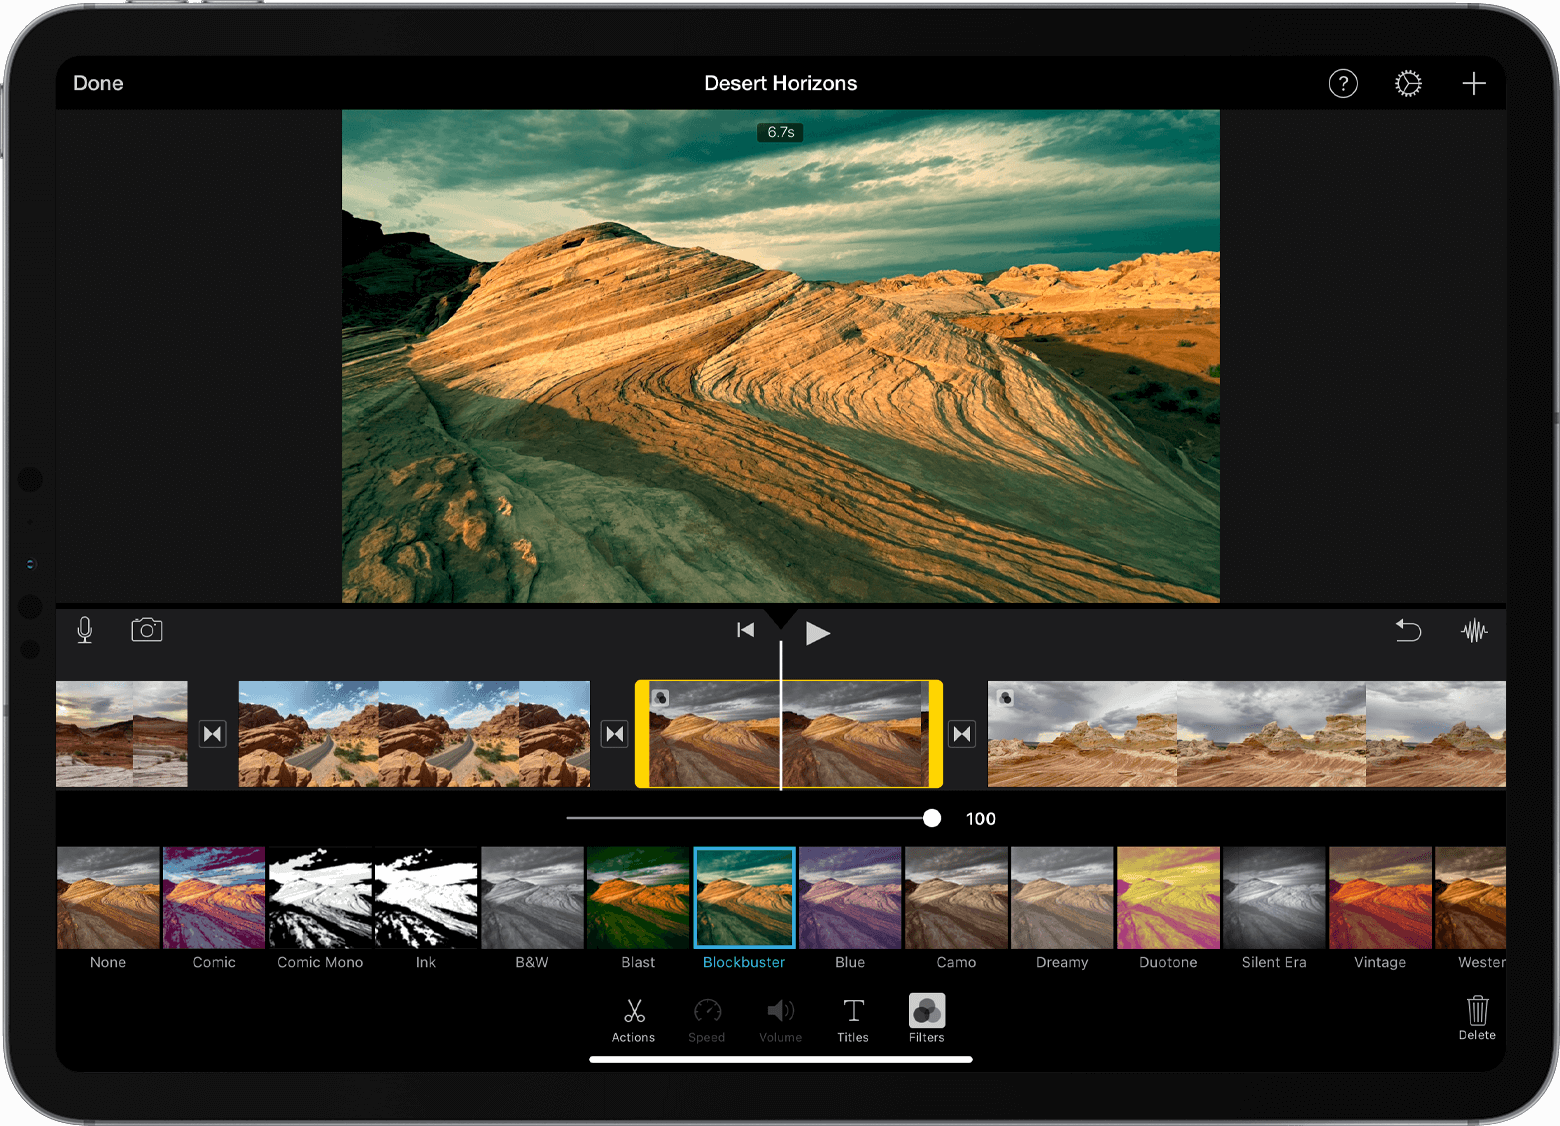
- Tap outside the filter to apply the filter, or tap None if y'all don't desire to apply a filter.
Y'all can also add a filter to an entire projection:
- Open a projection.
- Tap the Project Settings button
 , tap a filter, then tap Done. Filters are applied to all the video clips in the projection, merely not to photos or other even so images.
If you want to add a filter to a photo, use the Photos app to apply a filter, so add together the photo back into the timeline of your project. The Photos app includes many of the same filters as iMovie.
Adjust the Ken Burns effect
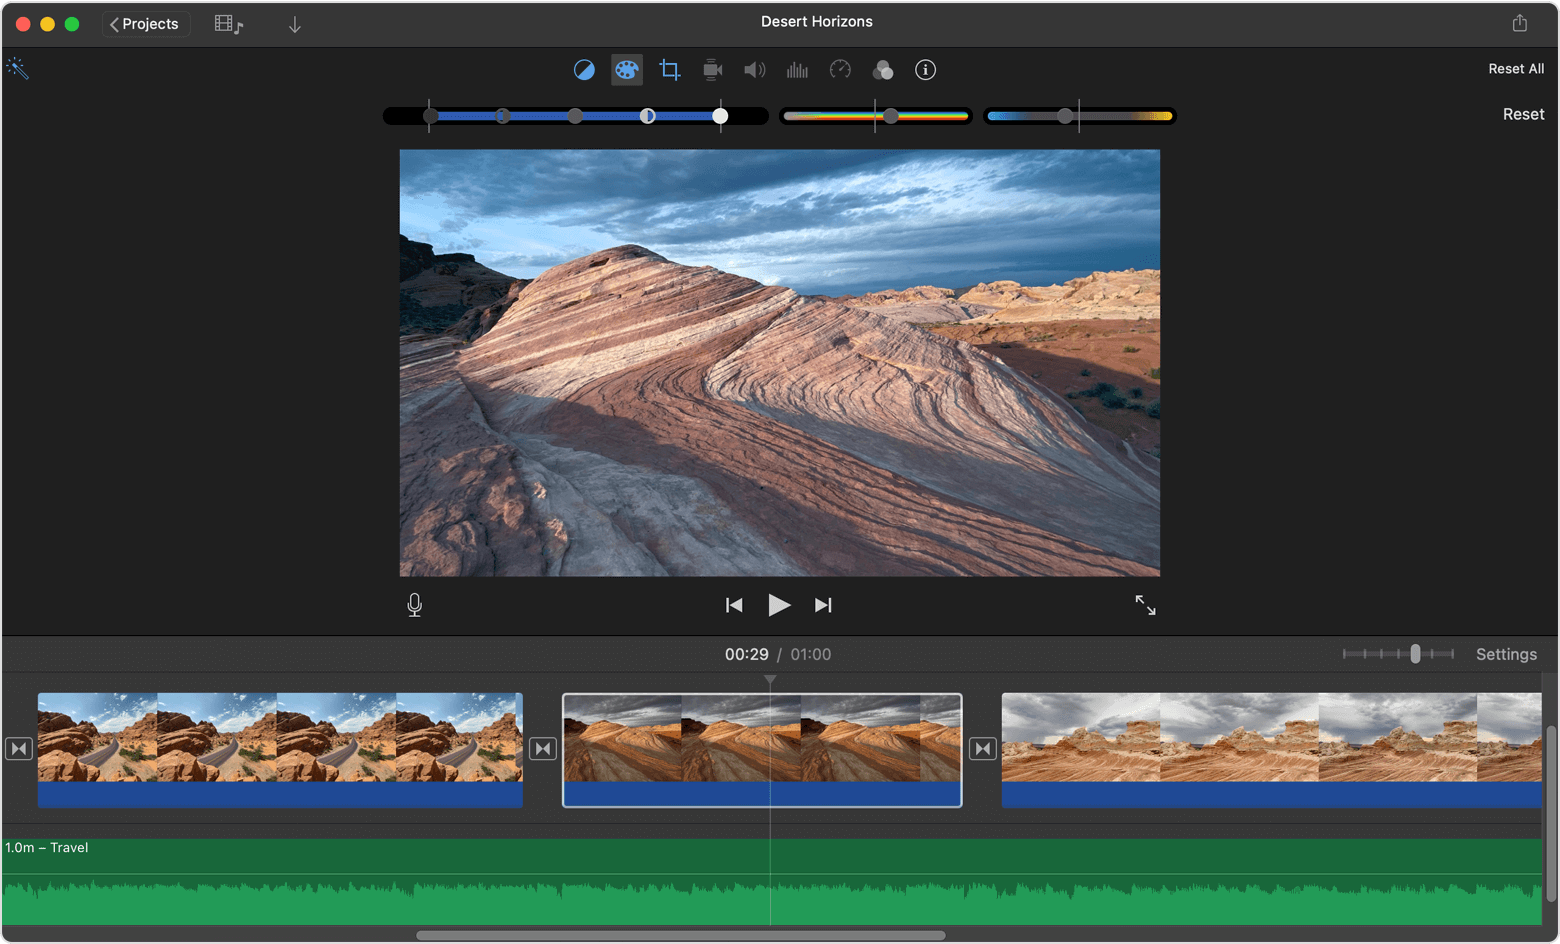
Change the look of your iMovie project on Mac
iMovie includes effects that tin modify the way your clips look. You lot can quickly amend the way a clip looks and sounds. If you want a particular wait, use a preset filter like Black and White or Sepia. Suit colors, match colors between clips, gear up whites or grays, and more than with the born automatic colour adjustment tools. Or make manual colour adjustments.
You can use the green screen event in iMovie to add green-screen content as an overlay.
Quickly improve the way a clip looks and sounds in iMovie on Mac
To quickly improve the style a clip looks and sounds, select the prune in the browser or timeline, then click the Enhance button![]() above the viewer.
above the viewer.
Use a preset filter in iMovie on Mac
Automatically alter video colors in iMovie on Mac
- Select one or more video clips in the browser or timeline.
- Click the Color Balance push button
 in a higher place the viewer, then choose an selection:
- To make automated colour adjustments, click Auto.
- To friction match colors between clips, click Match Color, drag your pointer (which is now an eyedropper) over another prune that you want match with the selected clip, then click when you've found a frame you desire to use as the source for the color match.
- To set the whites or grays in a clip, click the White Residue button, then click the role of the clip that should be white or grey in the viewer.
- To use skin tone to alter the color of a clip, click the Peel Tone Residual push button, so click an exposed part of someone'south peel in the prune in the viewer.
- When washed, click the Apply switch
 . To turn the effect on or off, drag the switch. Or click the Cancel button
  to remove the change.
Manually change video colors in iMovie on Mac
With the congenital-in color correction tools in iMovie, you make clips look as natural as possible, or you tin completely change the colors of clips. Select 1 or more clips in the browser or timeline, then click the Color Correction button![]() above the viewer to show the colour correction controls:
above the viewer to show the colour correction controls:
- To conform shadows, effulgence, dissimilarity, or highlights, elevate the sliders in the multislider control on the left.
- To accommodate saturation (the intensity of the colour), drag the Saturation command in the middle.
- To adjust colour temperature, drag the Color Temperature command on the right.
Published Engagement:

How To Smooth Skin In Imovie,
Source: https://support.apple.com/en-us/HT210902
Posted by: blanchardmomplary.blogspot.com
0 Response to "How To Smooth Skin In Imovie"
Post a Comment